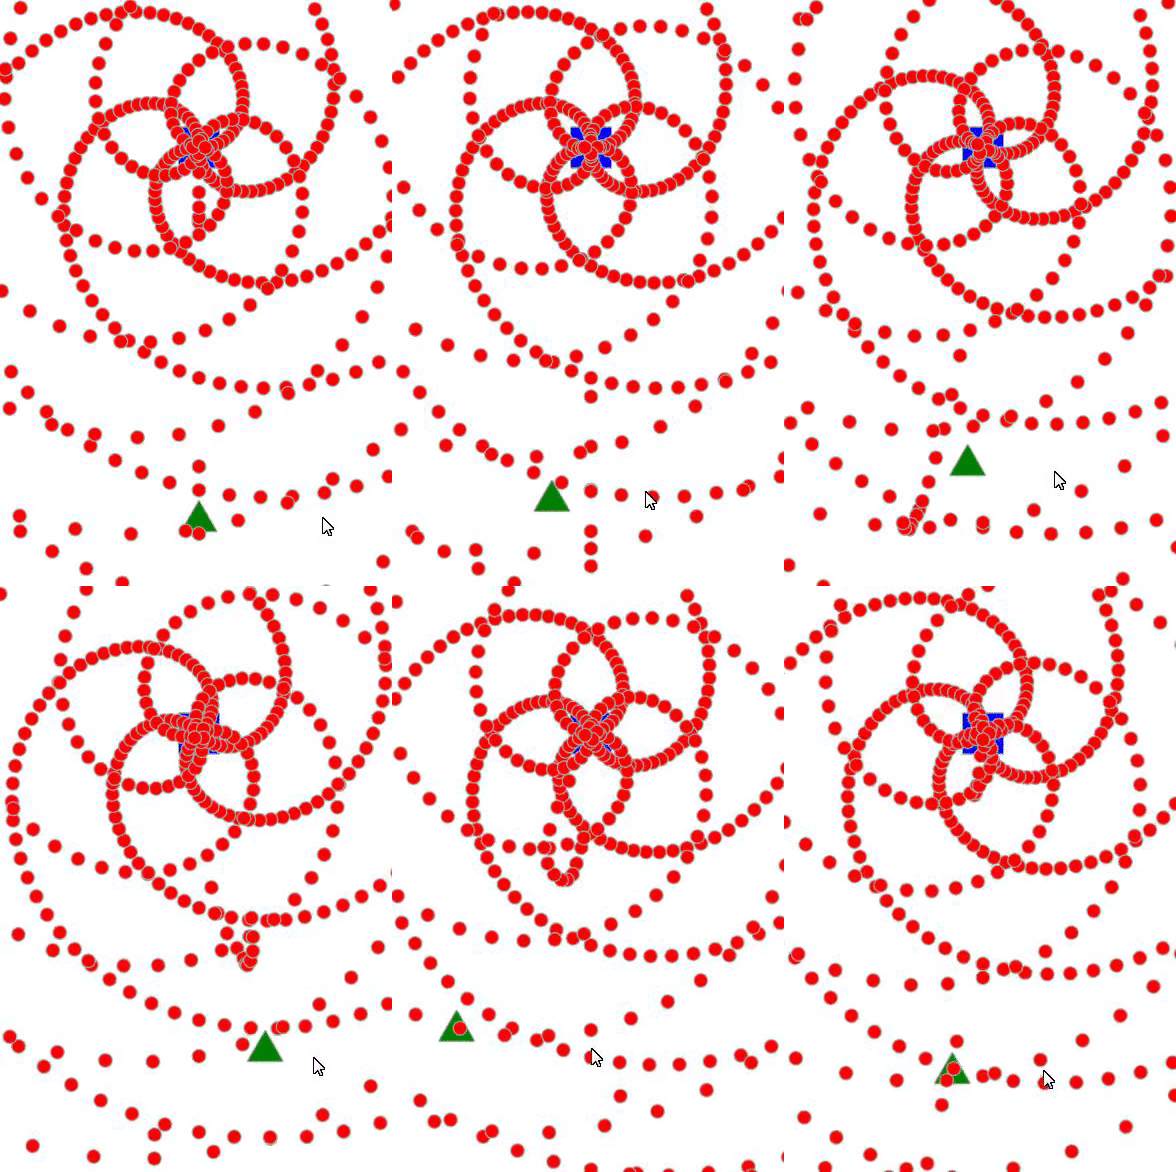
phina.js Advent Calendar 2016の2日目です。
ネタがねえんだよ! アニキ!
ネタがない(時間もない)ので持ちネタでいきます。

BulletMLってなんだよ!?
BulletMLとは弾幕記述言語であります。くわしくはこちら。
このBulletMLをJavaScriptで使えるようにしたのが拙作bulletml.jsってわけです。
phina.jsでBulletMLを使うぜ!
それではphina.jsでbulletml.jsを使ってみましょう。
main.js
1 2 3 4 5 6 7 8 9 10 11 12 13 14 15 16 17 18 19 20 21 22 23 24 25 26 27 28 29 30 31 32 33 34 35 36 37 38 39 40 41 42 43 44 45 46 47 48 49 50 51 52 53 54 55 56 57 58 59 60 61 62 63 64 65 66 67 68 69 70 71 72 73 74 75 76 77 78 79 80 81 82 83 84 85 86 87 88 89 90 91 92 93 94 95 96 97 98 99 100 101 102
| var SCREEN_WIDTH = 640; var SCREEN_HEIGHT = 960; phina.globalize(); phina.define("MainScene", { superClass: "DisplayScene", init: function() { this.superInit(); this.fromJSON({ children: { player: { className: "TriangleShape", x: this.gridX.span(8), y: this.gridY.span(14), update: function(app) { var p = app.pointer; if (p.getPointing()) { this.position.add(p.deltaPosition.mul(1.7)); } }, }, enemy: { className: "RectangleShape", x: this.gridX.span(8), y: this.gridY.span(4), runner: null, update: function() { if (this.runner) { this.runner.x = this.x; this.runner.y = this.y; this.runner.update(); } }, }, }, }); var bulletConfig = { target: this.player, createNewBullet: function(runner) { this.flare("fireBullet", { runner: runner }); }.bind(this), }; this.on("fireBullet", function(e) { Bullet(e.runner).addChildTo(this); }); var xmlAsset = AssetManager.get("xml", "attackPattern"); this.enemy.runner = bulletml.buildXML(xmlAsset.data).createRunner(bulletConfig); }, }); phina.define("Bullet", { superClass: "CircleShape", init: function(runner) { this.superInit({ radius: 10 }); this.runner = runner; this.x = runner.x; this.y = runner.y; }, update: function() { this.runner.update(); this.x = this.runner.x; this.y = this.runner.y; if (this.x < 0 || SCREEN_WIDTH < this.x || this.y < 0 || SCREEN_HEIGHT < this.y) { this.remove(); } } }); GameApp({ width: SCREEN_WIDTH, height: SCREEN_HEIGHT, startLabel: "main", assets: { xml: { attackPattern: "attackPattern.xml", }, }, }).run();
|
今回のポイント!!
XMLをアセットとして読み込む
BulletMLはXMLで記述されるので、今回はXMLファイルとして用意しています。
phina.jsにはXMLファイルをアセットとして読み込む機能があるので、それを利用しています。
1 2 3 4 5
| assets: { xml: { attackPattern: "attackPattern.xml", } }
|
Runner
bulletml.jsにはRunnerという概念があります。
このオブジェクトが「敵」や「弾」の動きを制御します。
今回のサンプルでは敵のRunnerはアセットとして読み込んだxmlファイルを元に作成しセットしています。
1 2
| this.enemy.runner = bulletml.buildXML(xmlAsset.data).createRunner(bulletConfig);
|
また、各弾のRunnerはcreateNewBullet関数に引数として渡ってきますので、それを敵弾クラスにセットしています。
1 2 3 4 5
| createNewBullet: function(runner) { this.flare("fireBullet", { runner: runner }); }.bind(this)
|
Runnerはupdateメソッドを実行するたびに内部値(x, y, direction)を変化させたり、新たな弾を生成したりします。
ですので、phina.jsのupdateメソッド内でRunnerのupdateメソッドを呼び出すことで弾幕パターンを進行していくわけですね。
まとめ
というわけで持ちネタでした。
本AdventCaldendarにはあと何回か寄稿しようと思っていますので、次はもうちょっとちゃんとしたネタを書きますね。
